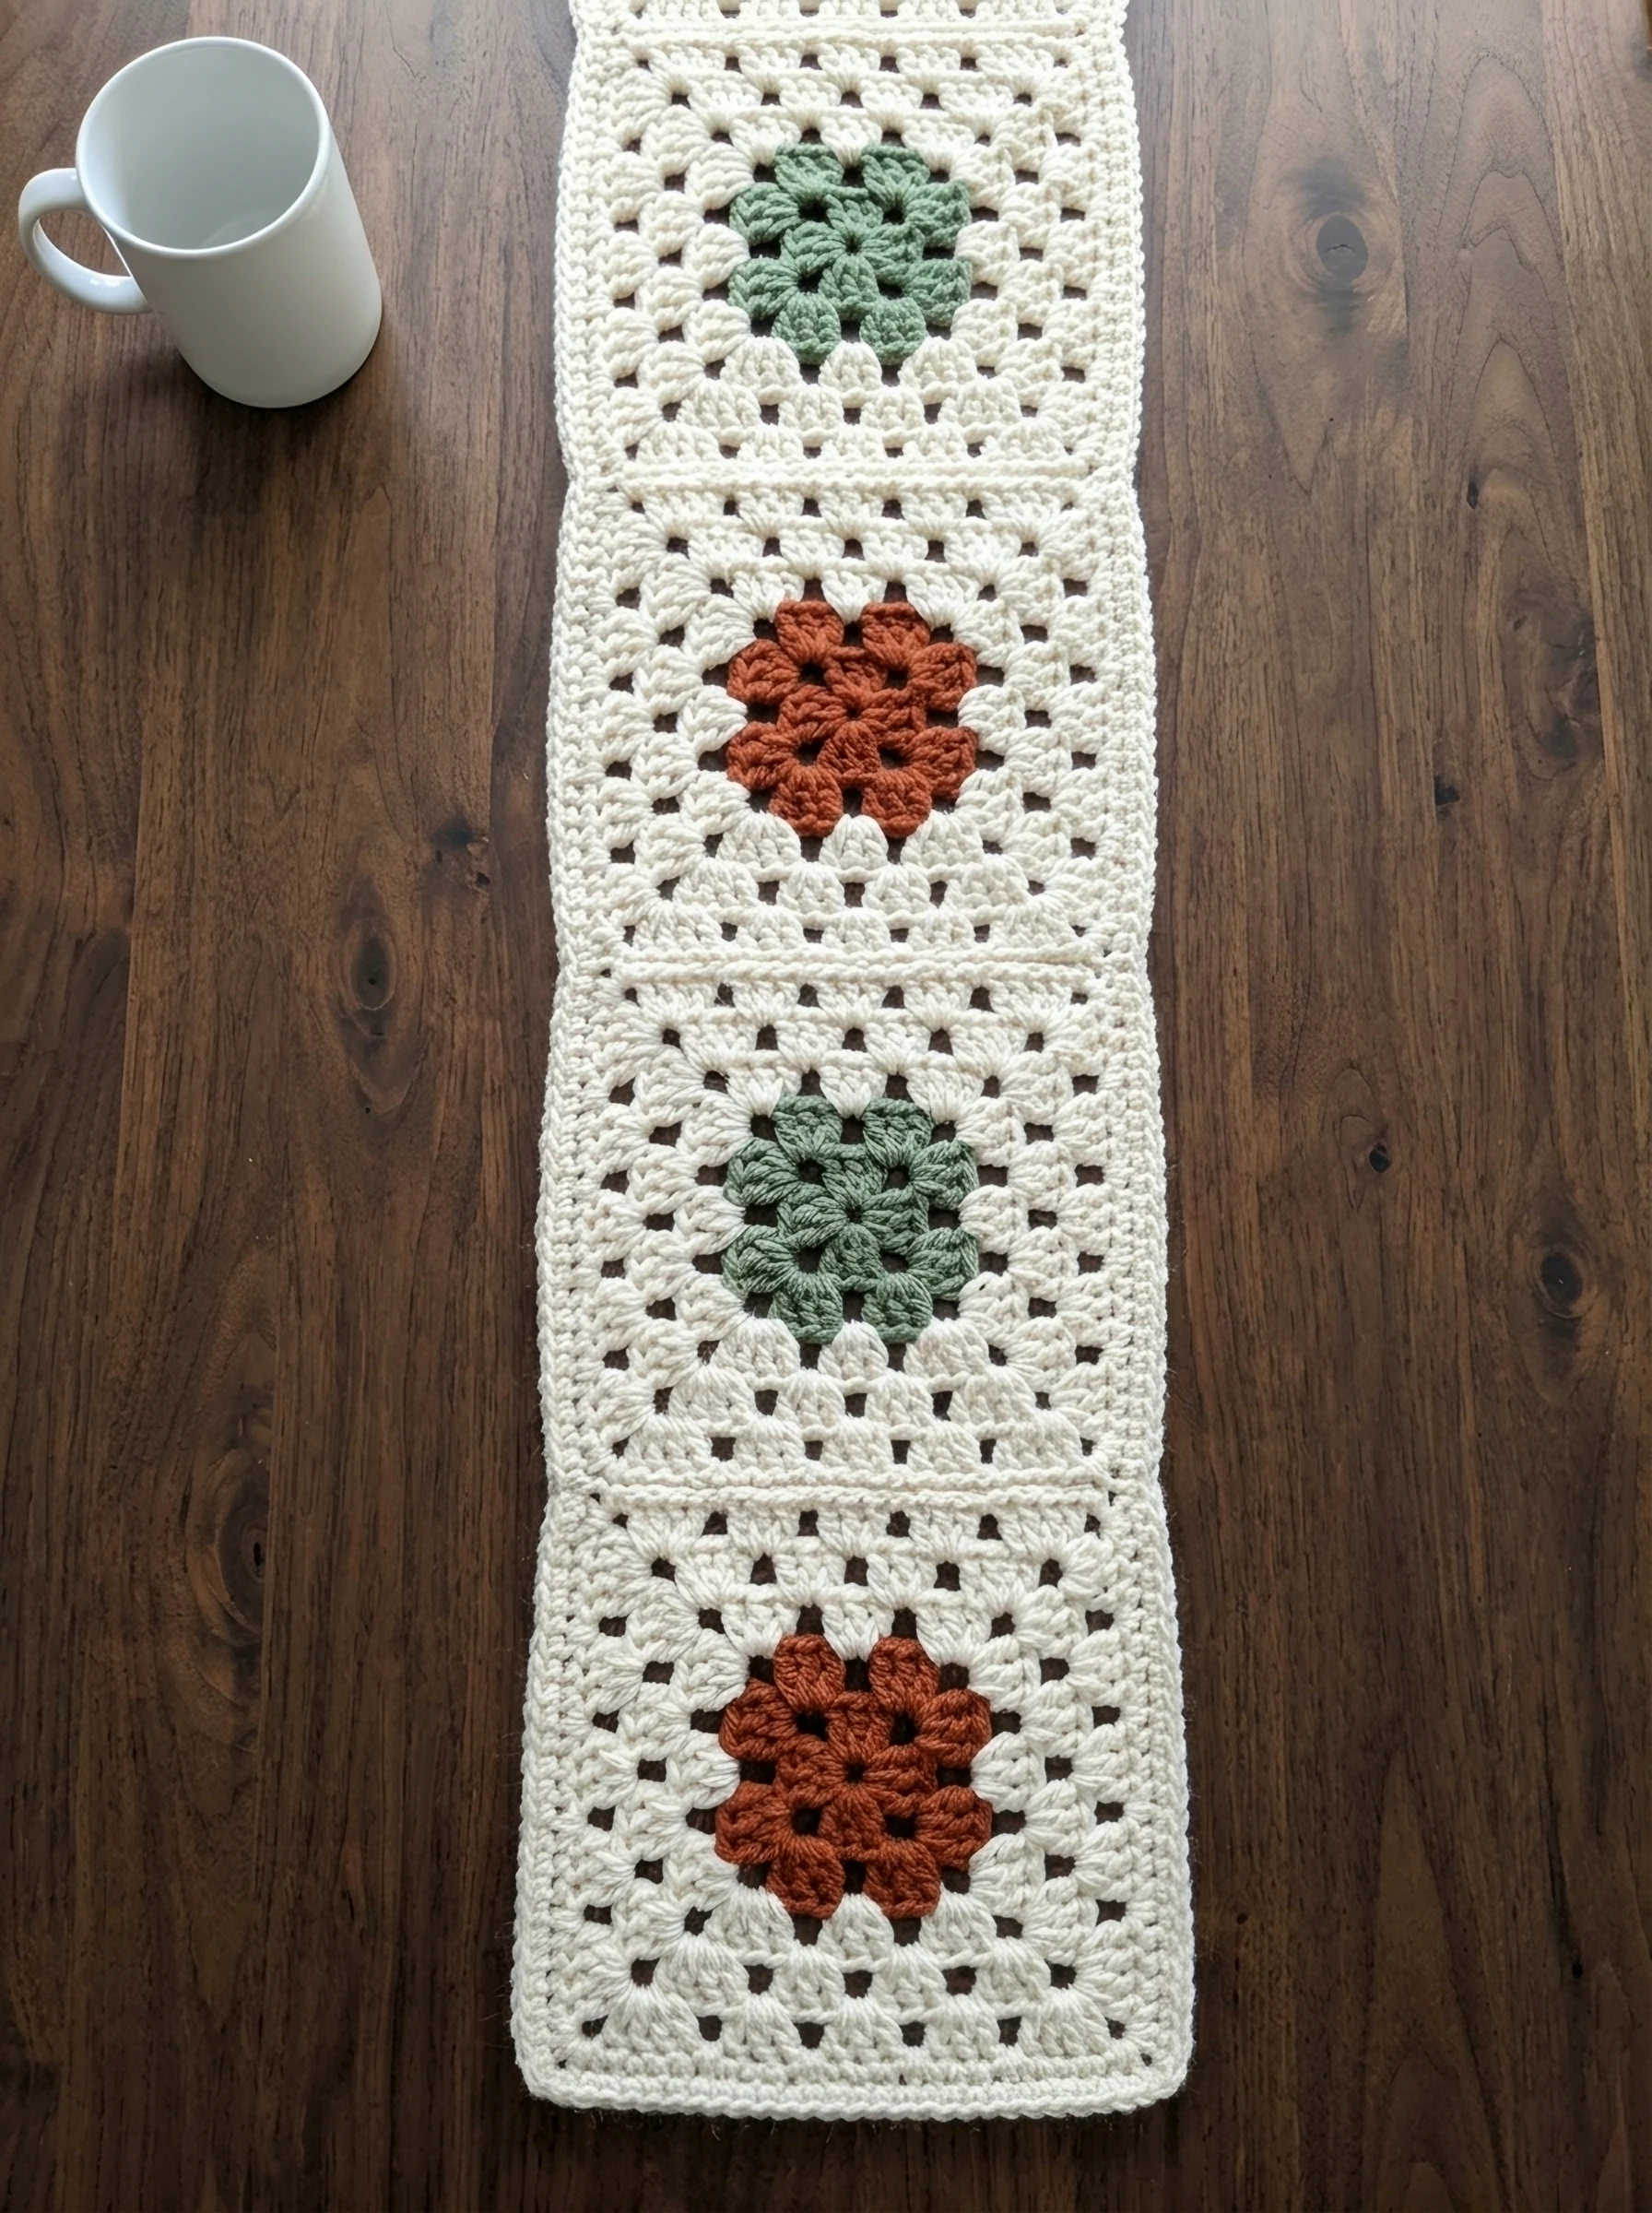
Free granny square scarf pattern · one size, about 7 in wide and 79 in long · worsted yarn in rust, sage and cream, US H-8 hook.
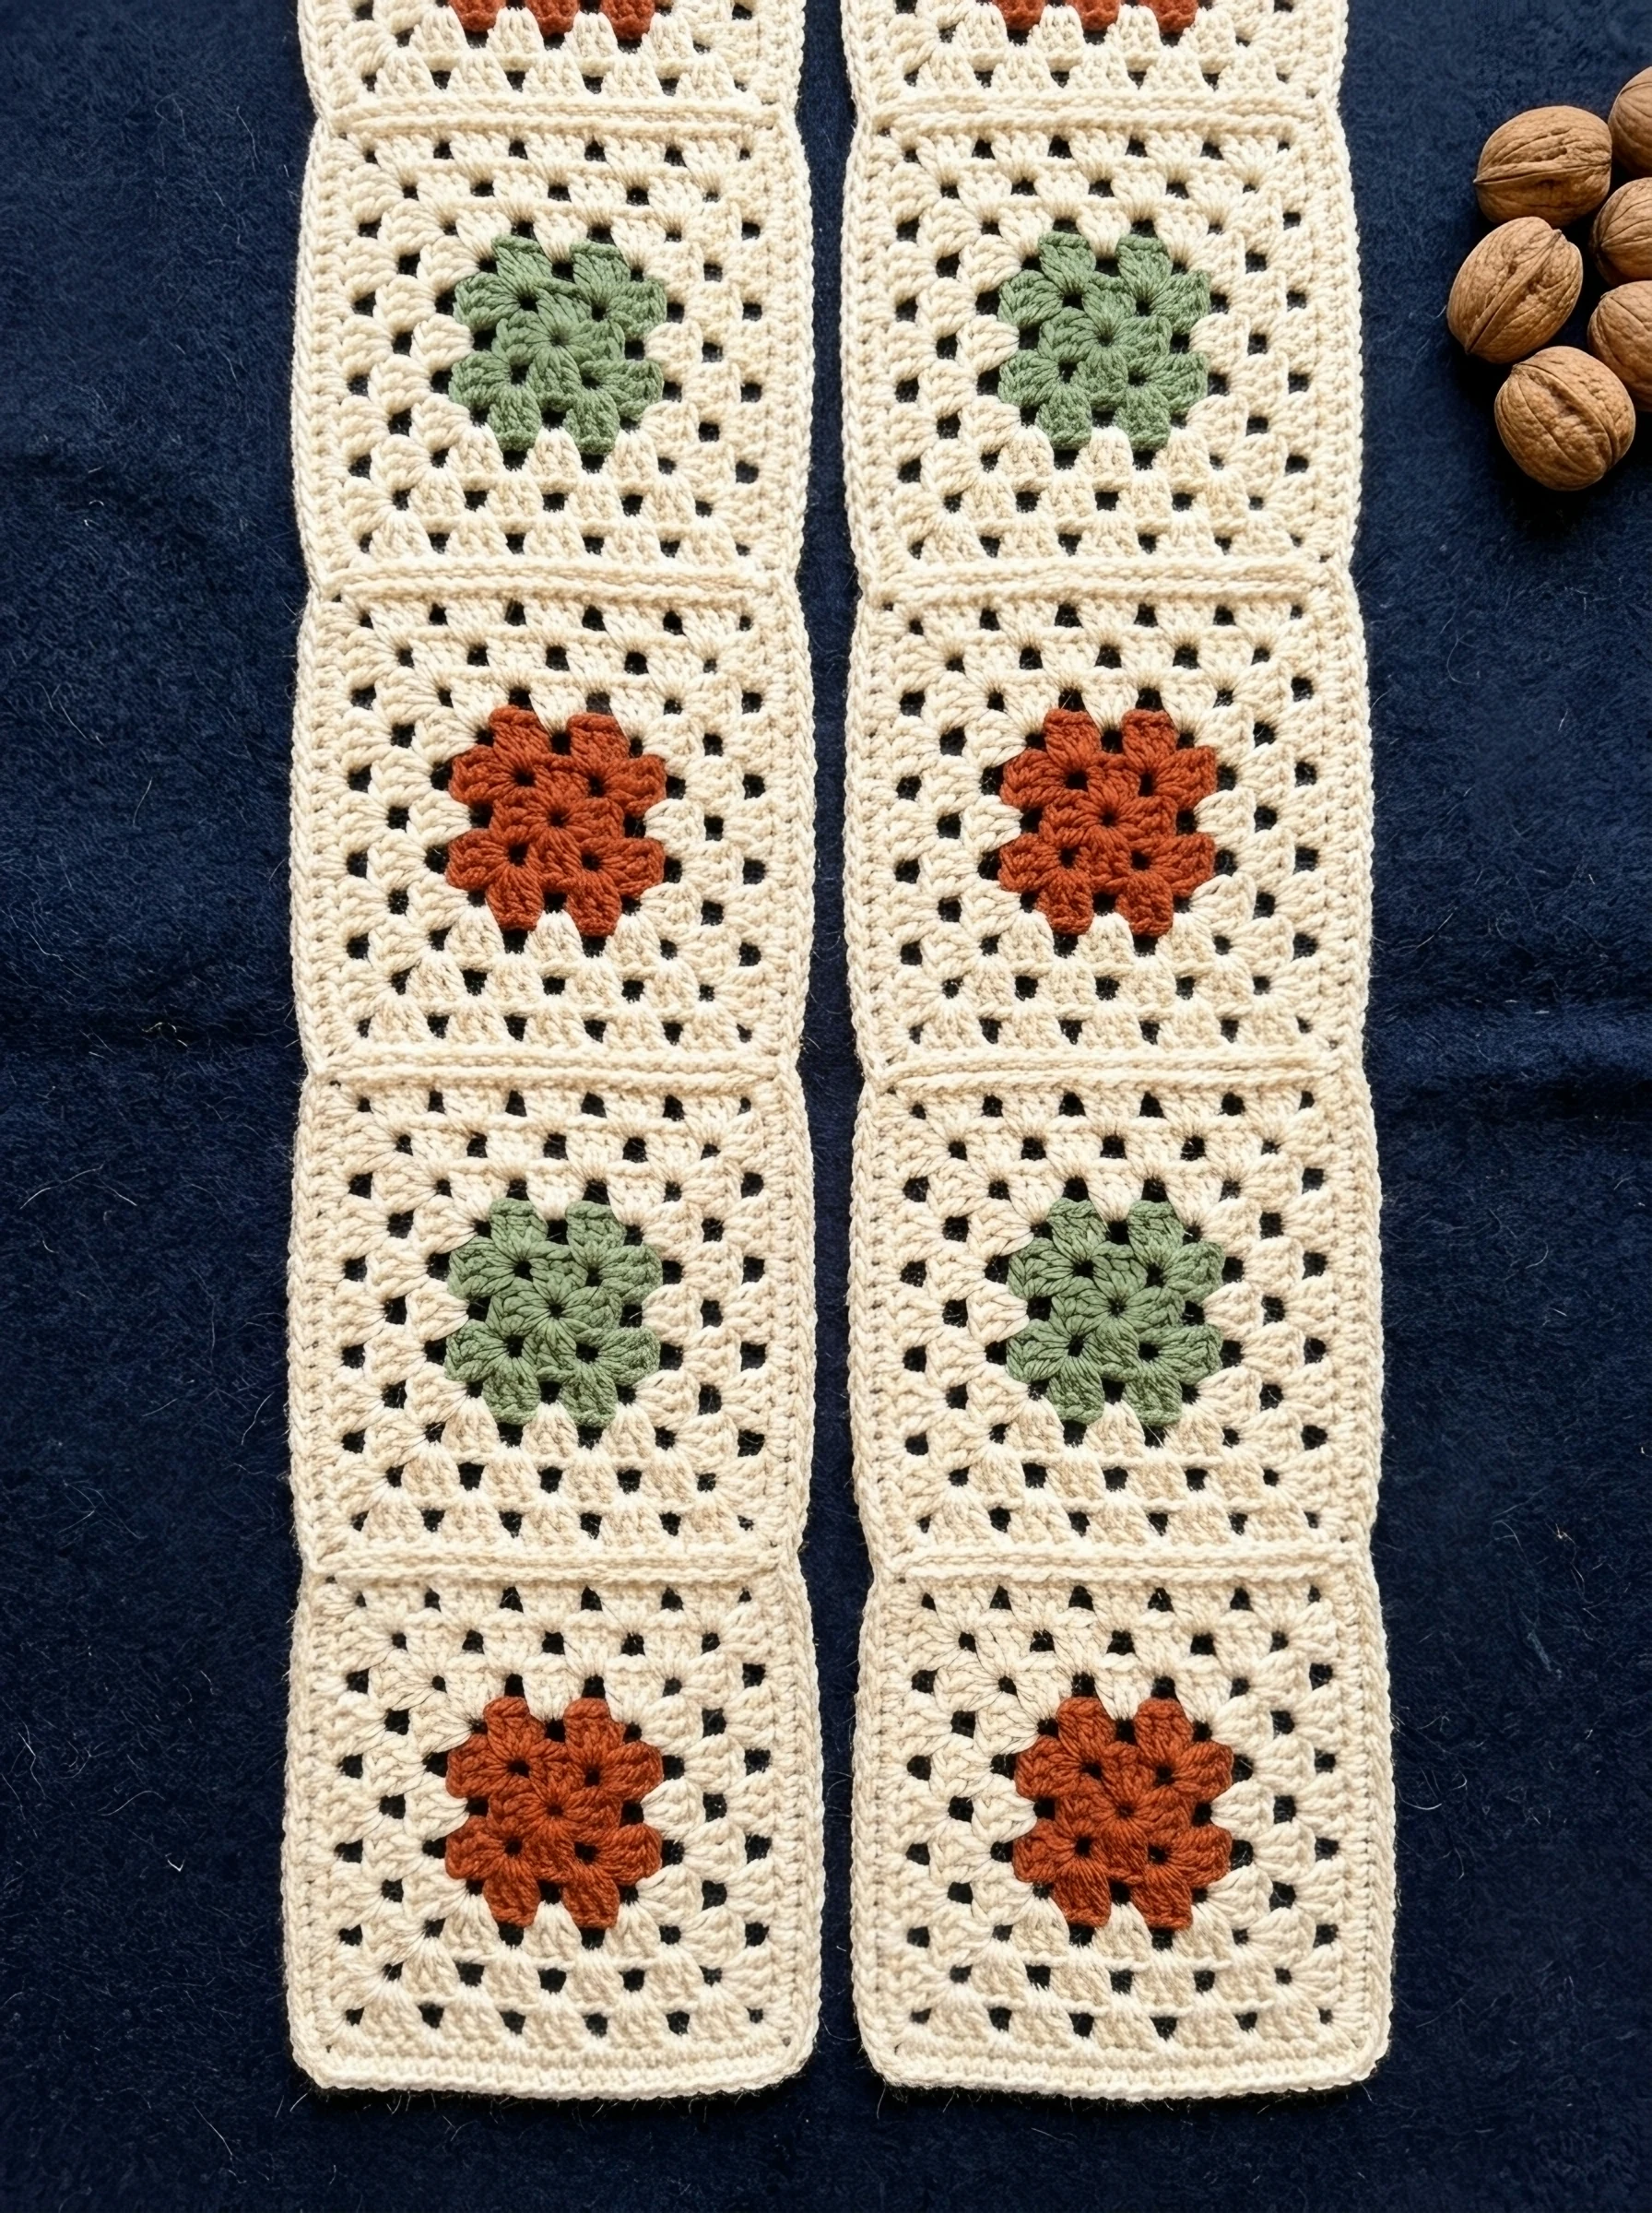
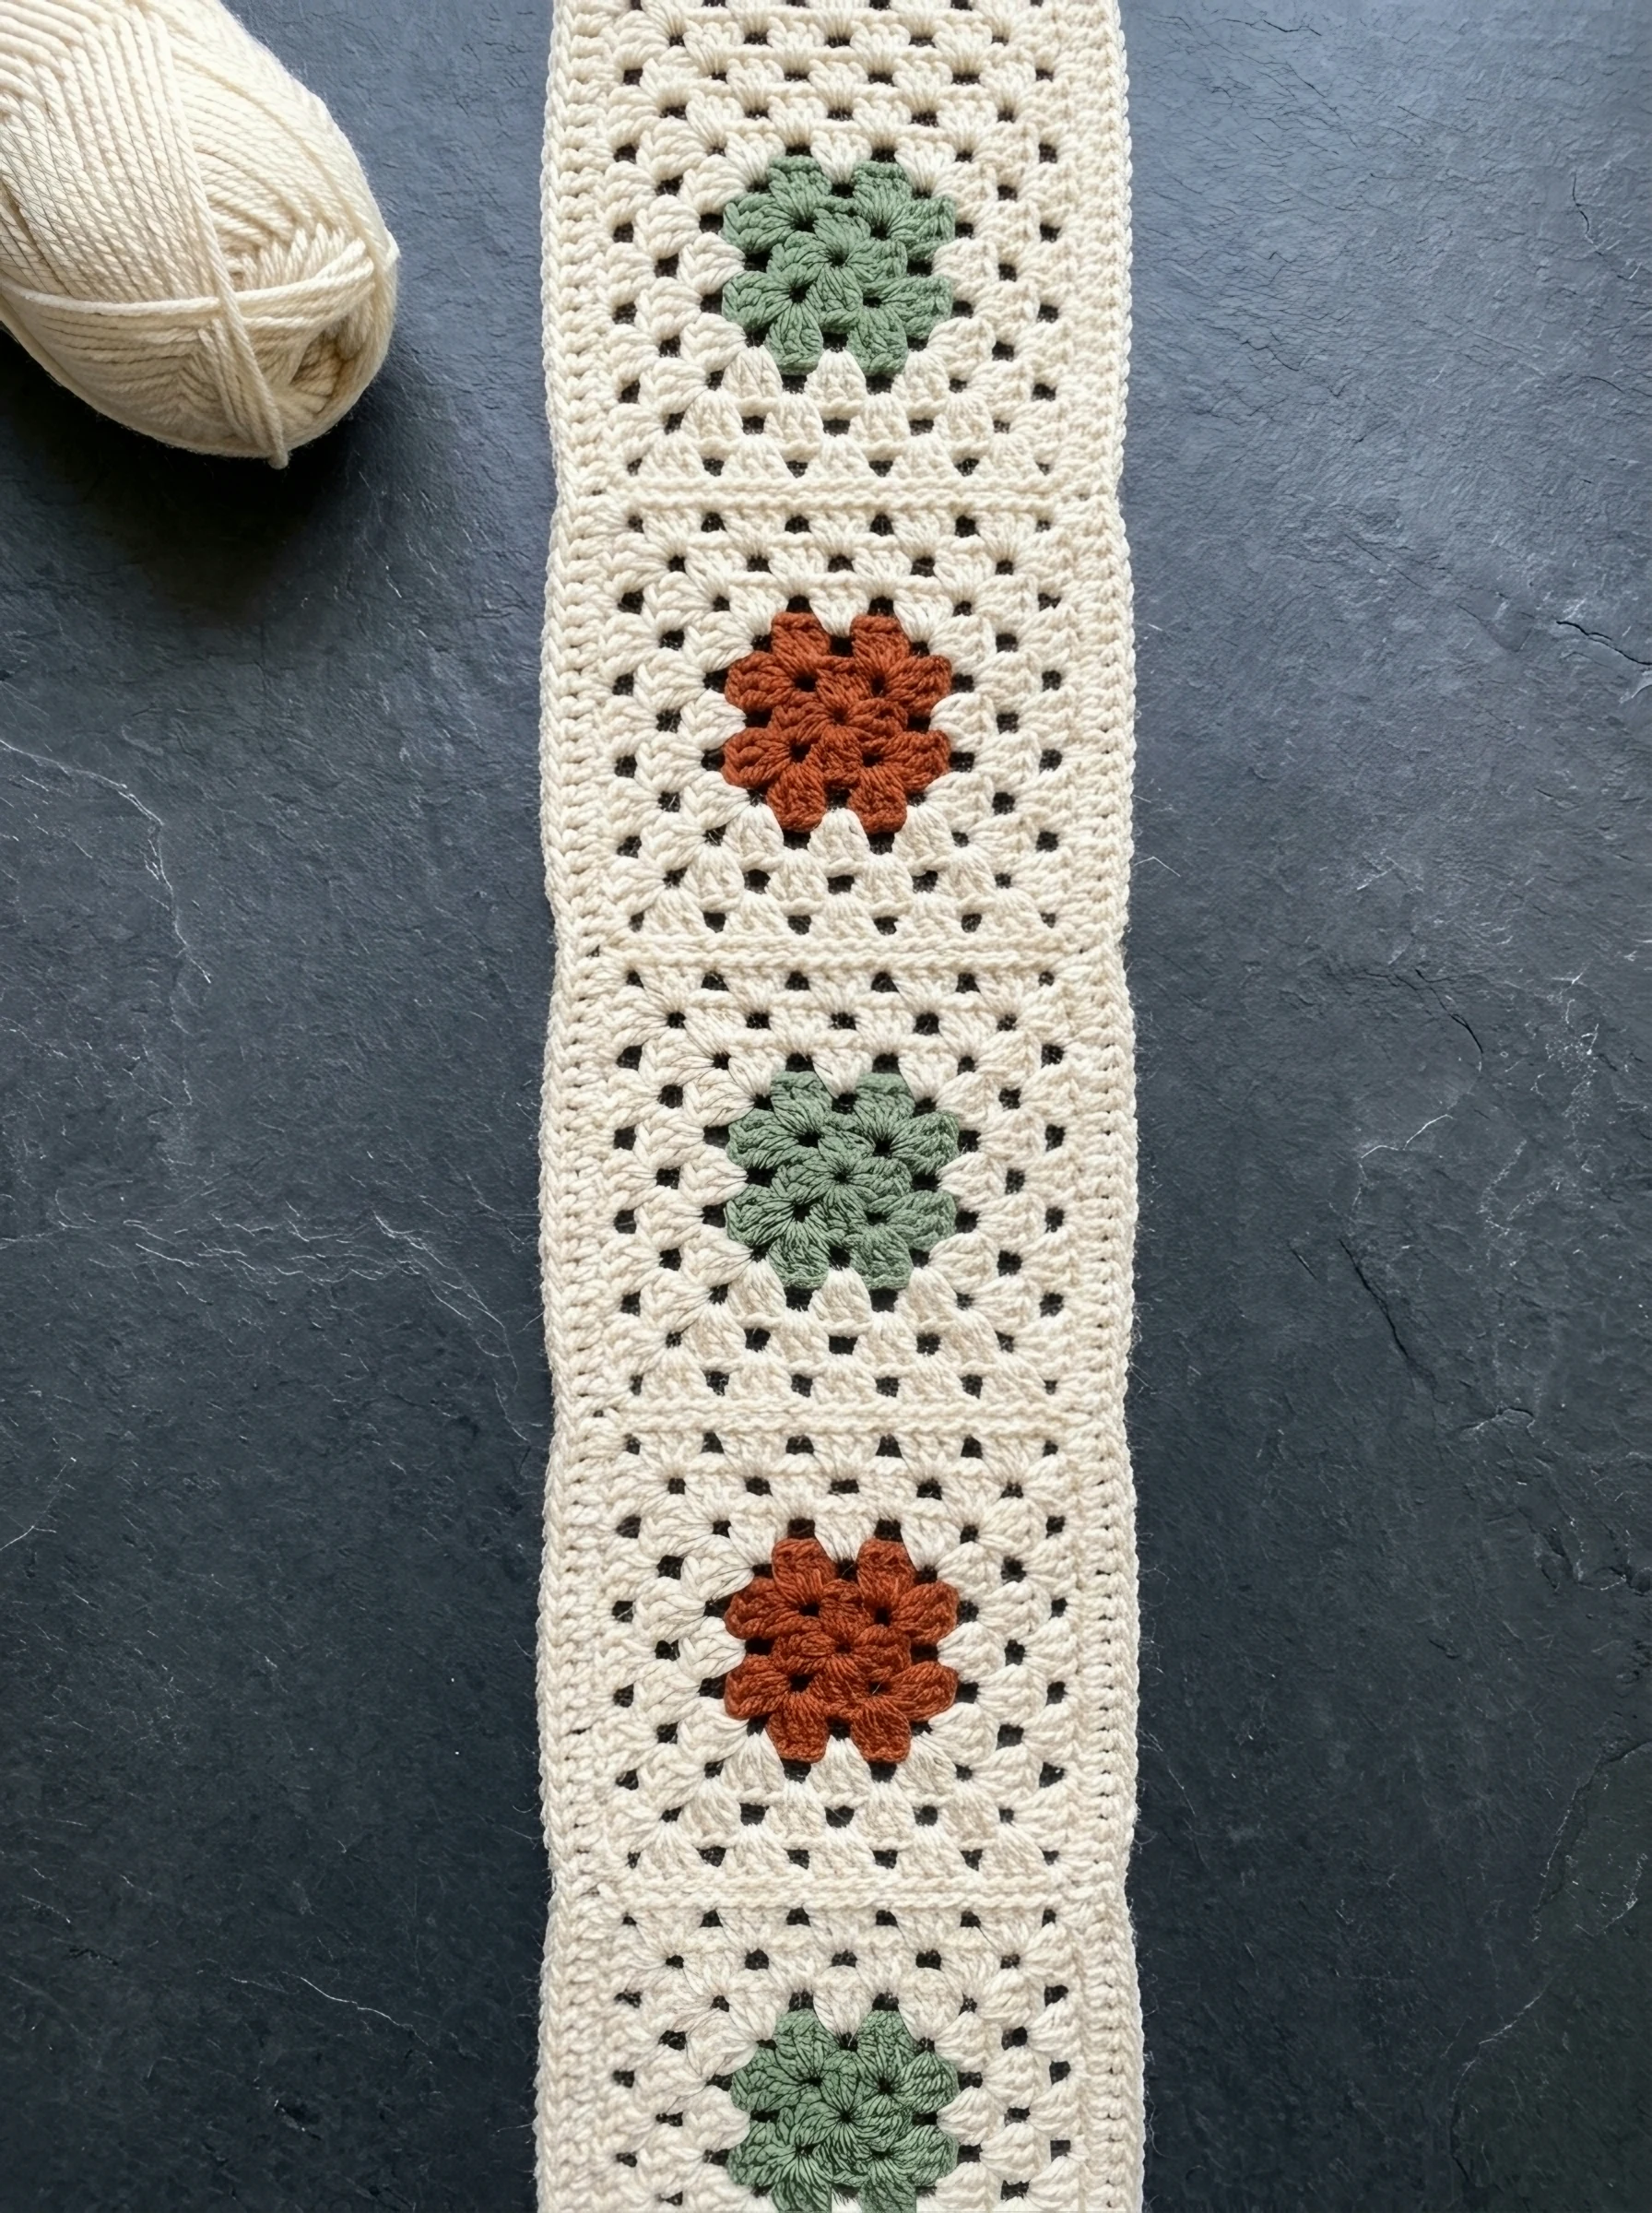
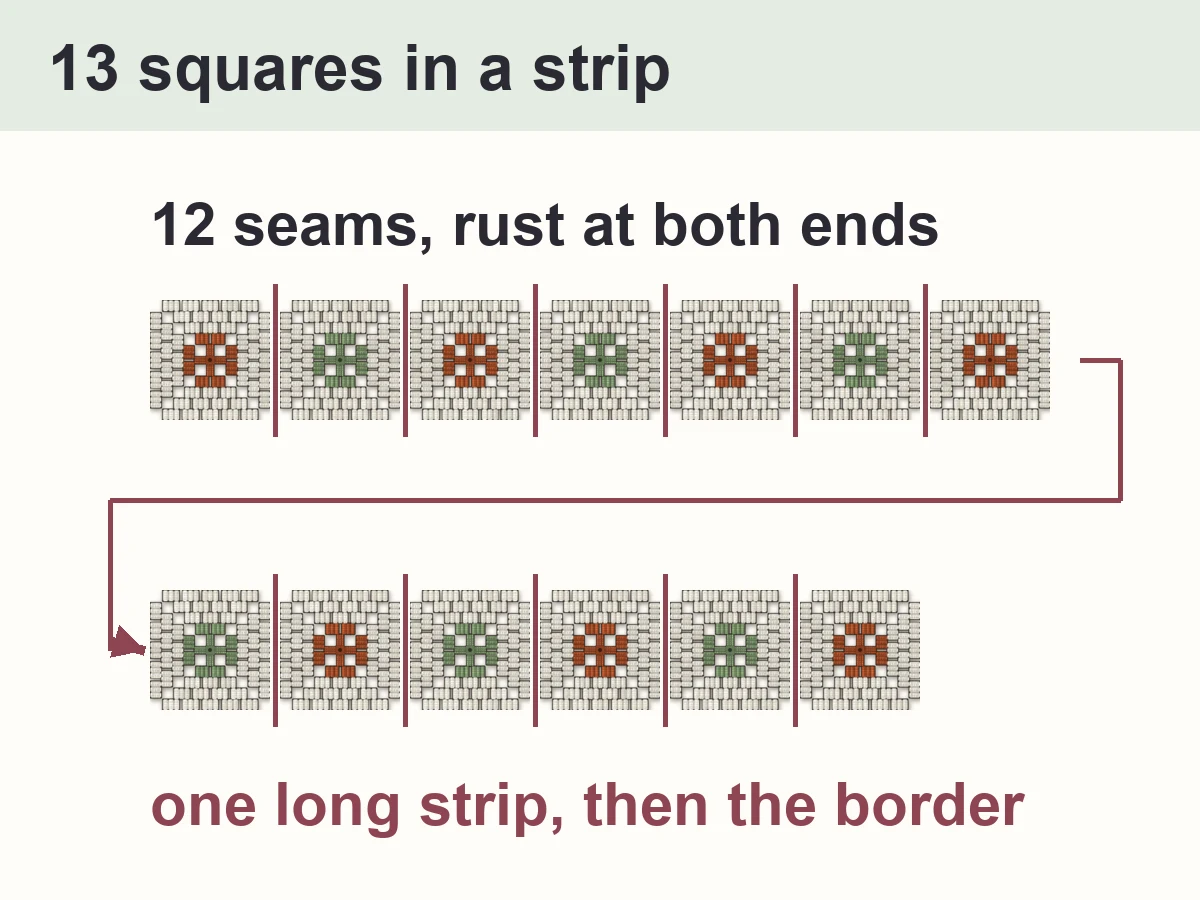
This granny square scarf is made of 13 classic granny squares. Each square has a rust or sage center and 3 cream rounds; you join them end to end, rust and sage alternating, with rust at both ends. Want it shorter? The 11-square version (about 67 in) is in Make it your own, with all its counts.
A cream border of 2 single crochet rounds goes all around and neatens the edges. Every round of the square and the border was checked by our stitch simulator.
- Finished size
- One size: about 7 in wide and 79 in long (estimated)
- Yarn
- Worsted weight (#4): about 45 yd rust, 40 yd sage, 370 yd cream (estimated, with a 30 % margin; buy all the cream from one dye lot, plus an extra skein)
- Hook
- US H-8 (5.0 mm); a US I-9 (5.5 mm) for the seams
- Gauge
- Suggested only: one 5-round square = about 6 in from side to side
- Squares
- 13: 7 rust centers, 6 sage centers
- Time
- About 12 to 16 hours: 13 squares, 12 seams, the border and about 78 ends to weave in (estimated, not timed)
- Skills
- ch, sl st, sc, dc, magic ring, joining squares with a slip-stitch seam
✓ CookZya original design · Stitch counts checked round by round — Stitch counts checked round by round by our simulator. This pattern has not been crocheted and swatched by a person: size, yarn and time are estimates, and your scarf will differ a little.
Materials
- Color R — rust, about 45 yd
- Color S — sage green, about 40 yd
- Color W — cream, about 370 yd
- Yarn needle, scissors, a few stitch markers or pins.
Notes
- US crochet terms. ch = chain, sl st = slip stitch, sc = single crochet, dc = double crochet, sp = space, st(s) = stitch(es), rep = repeat, Rnd = round.
- Magic ring: wrap the yarn twice around two fingers, insert the hook under the strands, pull up a loop and ch 1 to lock it (this ch 1 does not count). Prefer a chain ring? Ch 4, sl st in the first ch.
- Ch 3 (counts as a dc): the 3 chains at the start of a round stand in for the first dc; you join in the top (3rd chain) of it.
- Gauge: make one square first. It should measure about 6 in. Bigger squares make a wider, longer scarf and use more yarn (estimates: your yarn and tension decide).
- Block all 13 squares to the size of your first square (about 6 in with the US H-8 hook), mist and let dry.
- The slip-stitch seams make a small ridge, mostly on the back of the scarf.
Granny square scarf charts and plans

Granny square
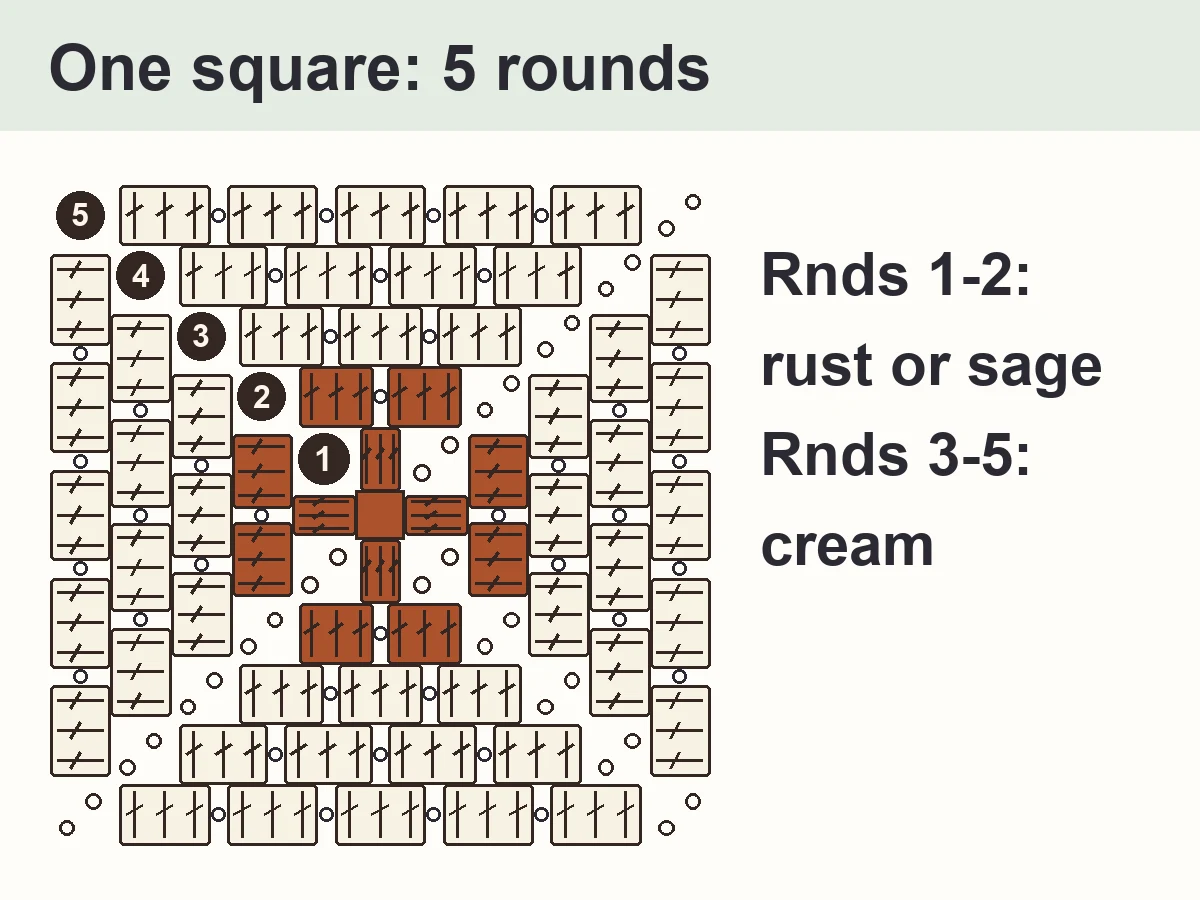
Make 13 squares: 7 with rust centers and 6 with sage centers. Right side facing you; you never turn.
- With rust (7 squares) or sage (6 squares), make a magic ring. Ch 3 (counts as the first dc), 2 dc in the ring, ch 2. *3 dc in the ring, ch 2; rep from * 2 more times. Pull the tail to close the ring. Join with sl st in the top of the beginning ch-3 (12 dc in 4 groups, 4 ch-2 corner sps). 12 dc, 4 ch-2 sps
- Sl st in each of next 2 dc and in the next ch-2 sp. Ch 3 (counts as a dc), (2 dc, ch 2, 3 dc) in the same sp, ch 1 (it goes over the 3 dc of Rnd 1), *(3 dc, ch 2, 3 dc) in the next ch-2 sp, ch 1; rep from * 2 more times. Join with sl st in the top of the beginning ch-3 (24 dc in 8 groups, 4 ch-2 corner sps, 4 ch-1 sps). Fasten off, leaving a 6-inch tail. 24 dc, 4 ch-2 sps, 4 ch-1 sps
- Join cream with sl st in any ch-2 corner sp. Ch 3 (counts as a dc), (2 dc, ch 2, 3 dc) in the same sp, ch 1, *3 dc in the next ch-1 sp, ch 1, (3 dc, ch 2, 3 dc) in the next ch-2 sp, ch 1; rep from * 2 more times. Last side: 3 dc in the next ch-1 sp, ch 1. Join with sl st in the top of the beginning ch-3 (36 dc in 12 groups, 4 ch-2 corner sps, 8 ch-1 sps). 36 dc, 4 ch-2 sps, 8 ch-1 sps
- Sl st in each of next 2 dc and in the next ch-2 sp. Ch 3 (counts as a dc), (2 dc, ch 2, 3 dc) in the same sp, ch 1, *[3 dc in the next ch-1 sp, ch 1] 2 times, (3 dc, ch 2, 3 dc) in the next ch-2 sp, ch 1; rep from * 2 more times. Last side: [3 dc in the next ch-1 sp, ch 1] 2 times. Join with sl st in the top of the beginning ch-3 (48 dc in 16 groups, 4 ch-2 corner sps, 12 ch-1 sps). 48 dc, 4 ch-2 sps, 12 ch-1 sps
- Sl st in each of next 2 dc and in the next ch-2 sp. Ch 3 (counts as a dc), (2 dc, ch 2, 3 dc) in the same sp, ch 1, *[3 dc in the next ch-1 sp, ch 1] 3 times, (3 dc, ch 2, 3 dc) in the next ch-2 sp, ch 1; rep from * 2 more times. Last side: [3 dc in the next ch-1 sp, ch 1] 3 times. Join with sl st in the top of the beginning ch-3 (60 dc in 20 groups, 4 ch-2 corner sps, 16 ch-1 sps). Fasten off, leaving a 6-inch tail. 60 dc, 4 ch-2 sps, 16 ch-1 sps
Border
First block and join the squares into a strip (see How to join the squares below), then work the border in cream.
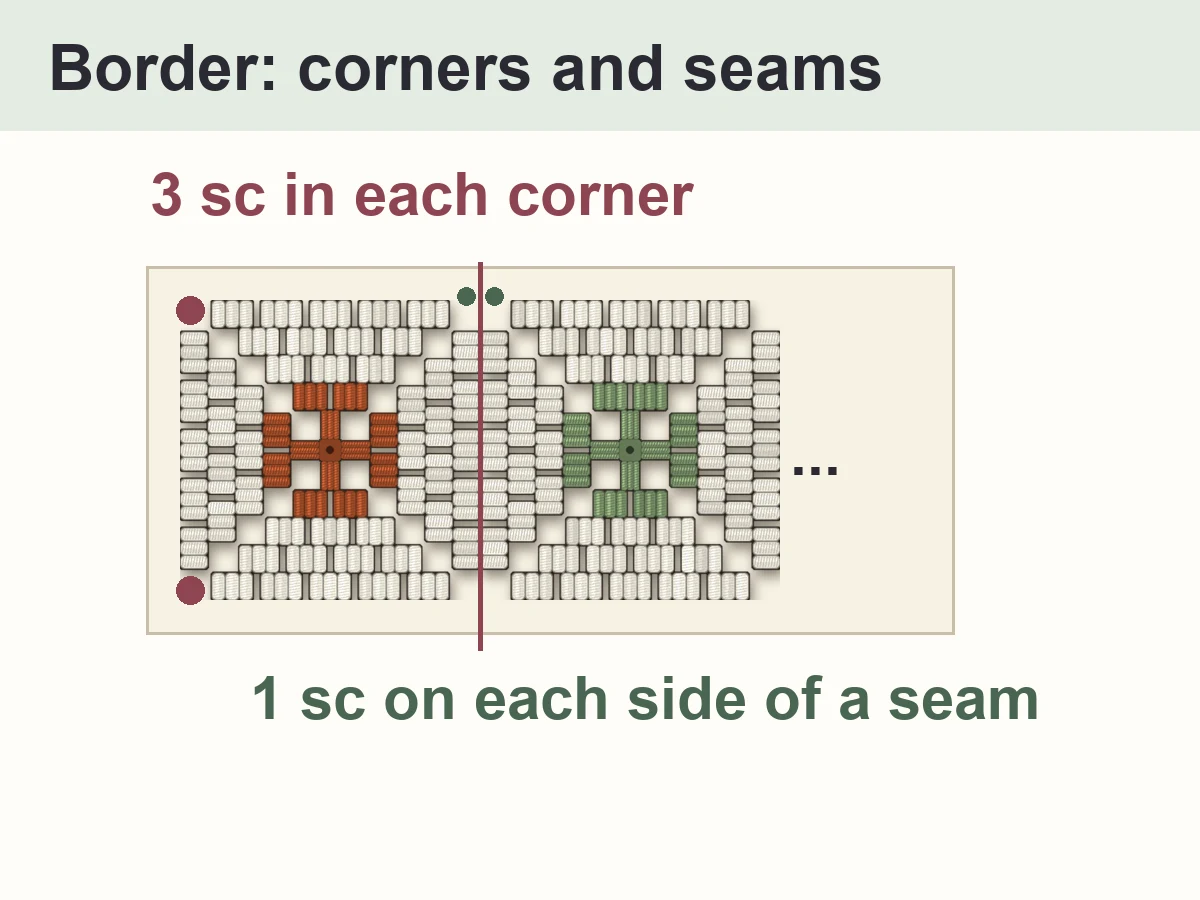
- With the right side facing you, join cream with sl st in any of the 4 outer ch-2 corner sps, so that a long side comes next as you work. Ch 1 (does not count as a stitch), 3 sc in the same corner sp. Long side: *sc in each of next 3 dc, [sc in the next ch-1 sp, sc in each of next 3 dc] 4 times, sc in the next corner sp, sc in the corner sp of the next square (one sc on each side of the seam); rep from * 11 more times (you are on the last square), sc in each of next 3 dc, [sc in the next ch-1 sp, sc in each of next 3 dc] 4 times (271 sc along the long side, not counting the corner sc). End: 3 sc in the next corner sp, sc in each of next 3 dc, [sc in the next ch-1 sp, sc in each of next 3 dc] 4 times, 3 sc in the next corner sp. Second long side: work the long side as before (271 sc, corners not included). Last end: 3 sc in the next corner sp, sc in each of next 3 dc, [sc in the next ch-1 sp, sc in each of next 3 dc] 4 times. Join with sl st in the first sc (592 sc). 592 sc
- Ch 1 (does not count as a stitch), sc in the first sc, 3 sc in the next sc (the center sc of the corner), sc in each of next 273 sc, 3 sc in the next sc, sc in each of next 21 sc, 3 sc in the next sc, sc in each of next 273 sc, 3 sc in the next sc, sc in each of next 20 sc. Join with sl st in the first sc (600 sc). Fasten off and weave in the ends. 600 sc
How to join the squares

1 Block the squares
2 Lay out the squares
3 Join them into a strip
4 Border
Finishing
Weave in all the ends along the seams and the cream rounds, then block the whole scarf flat.
Design notes
- Each square edge gives 19 places between its corner spaces: 15 dc and 4 ch-1 spaces. Along a long side, 13 squares give 13 x 19 sc plus 2 sc at each of the 12 seams: 271 sc.
- Border Rnd 2 adds 2 sc at each of the 4 corners (3 sc in each corner center sc), so the corners stay square and flat.
- An odd number of squares keeps the same color at both ends.
Tips
- Make all the squares first and check that they measure the same.
- Crochet over the tails as you work each new round: fewer ends to weave in at the end.
- Put a stitch marker in the center sc of each corner in Border Rnd 1: you will find it easily in Rnd 2.
- Lay the strip flat after each seam to check that the squares stay in a straight line.
- If the border pulls the long sides in, work it with a hook one size bigger.
Common mistakes
- Pulling the slip-stitch seams tight: the long sides pucker.
- Skipping one of the 2 corner spaces at a seam in Border Rnd 1: the count will be short.
- Putting 2 rust or 2 sage squares side by side: check the row before you join.
Make it your own
- Shorter scarf, about 67 in: 11 squares (6 rust, 5 sage). Border Rnd 1: 229 sc along each long side instead of 271 (508 sc in all, rep from * 9 more times). Border Rnd 2: sc in each of next 231 sc along each long side instead of 273 (516 sc). Yarn about 40 yd rust, 30 yd sage, 315 yd cream; about 10 to 13 hours (estimates).
- One color for all the centers, or a different color for each square.
- Make it a set: our granny square hat uses the same rust, sage and cream (see More granny square patterns below).
Care
- Follow the yarn label; hand wash and dry flat keeps the shape.
More granny square patterns
- Granny Square Hat — the matching beanie, in the same rust, sage and cream
- How to Crochet a Granny Square — new to granny squares? Start here, one picture per round
- Granny Square Christmas Stocking — another granny square project for the holidays
- Granny Square Blanket Size Chart — how big a granny square gets, round by round
FAQ
How do you make a granny square scarf?
Crochet 13 five-round granny squares, block them, join them end to end with slip-stitch seams (rust and sage alternating) and work 2 rounds of single crochet all around.
How many granny squares do you need for a scarf?
Here, 13 squares of about 6 in make a scarf about 79 in long with the border, and 11 make about 67 in. For another length, divide it by the size of your square and keep an odd number, so both ends are the same color (estimates).
How long is this granny square scarf?
About 79 in long and 7 in wide (an estimate: your tension decides).
How much yarn do I need?
About 45 yd of rust, 40 yd of sage and 370 yd of cream worsted weight yarn, estimates with a 30 % margin.
Can I make it wider?
Use a bulkier yarn and a bigger hook: the stitch counts stay the same, the squares get bigger and the scarf wider and longer, and it needs more yarn than the amounts above.
Can I sell the scarves I make?
Yes, you may sell what you crochet. Please don't sell or repost the pattern; link to this page.
Copyright
© 2026 CookZya. Free for personal use: you may make and sell what you crochet. Please don't sell, copy or repost this pattern; link to it instead.