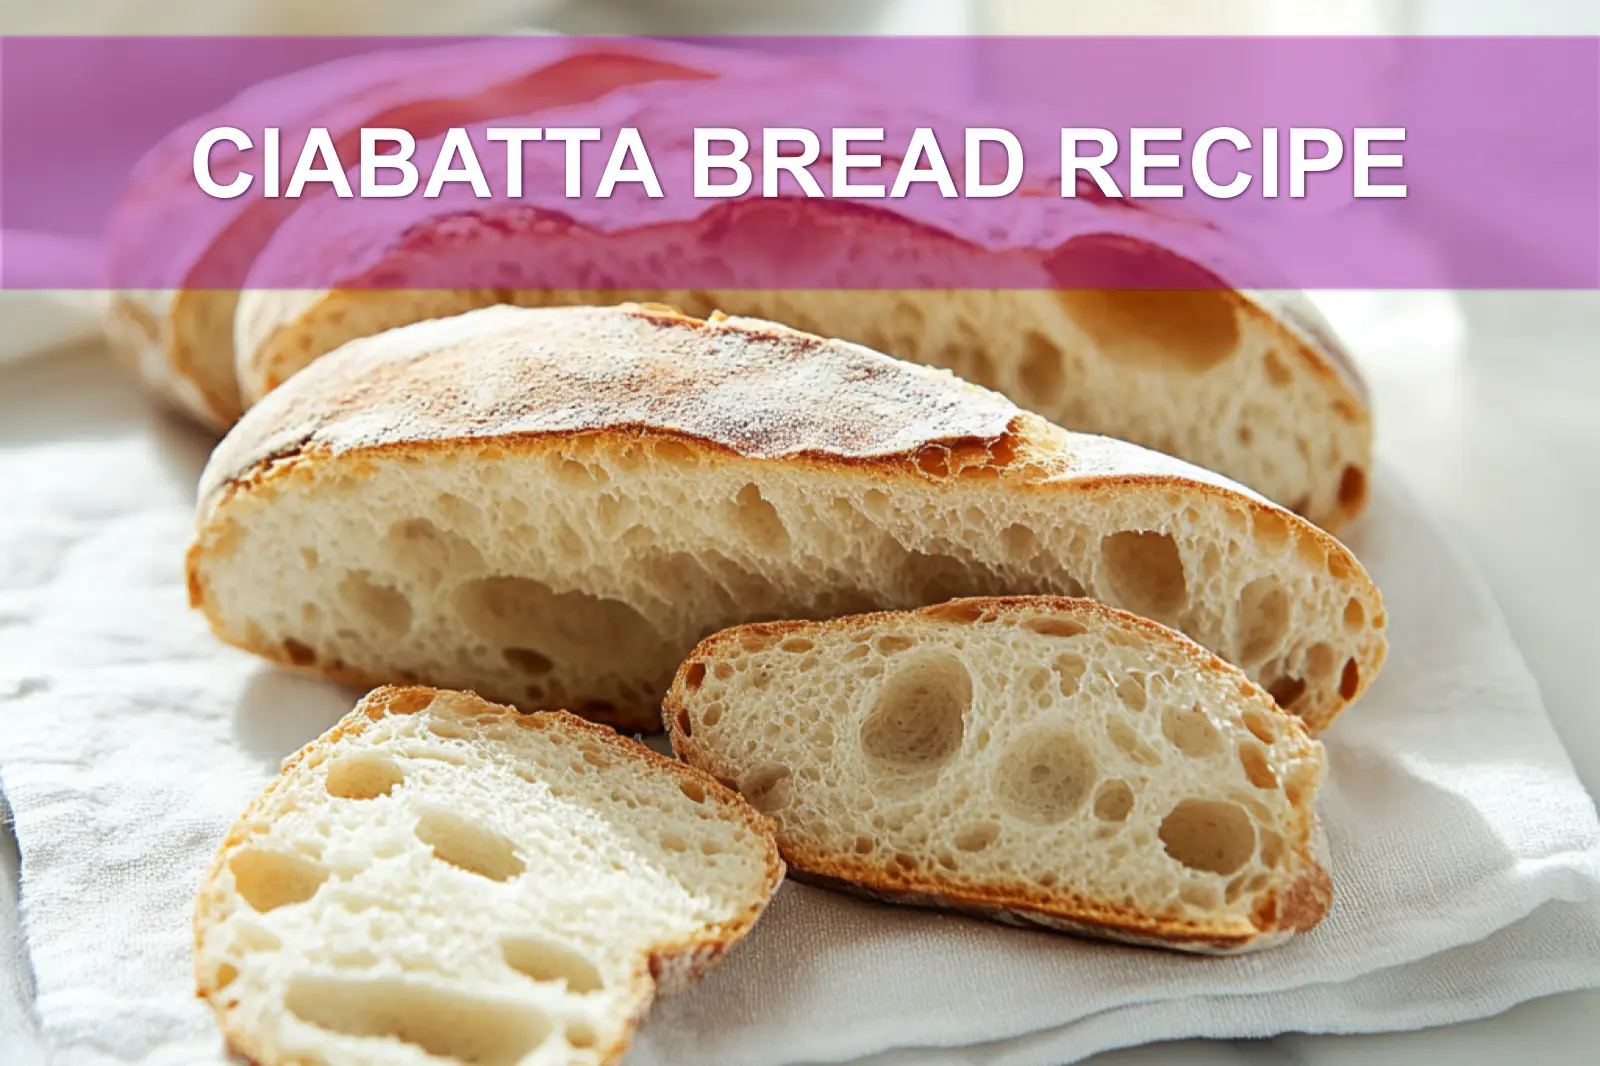
The first time I made a ciabatta bread recipe, I forgot to flour the towel and that sucker stuck like wallpaper paste. But even crooked and smooshed, it tasted like a bakery dream. This rustic loaf is all over Pinterest because folks are falling for that golden crackle and pillowy center. Totally worth the floury mess.
It’s a deliciously crusty, chewy, artisan loaf bread with just four things: flour, water, salt, and a little patience. No fancy equipment, no panic. Kinda like what you’d find in a Croatian bakery but make it pantry-friendly. Full details in the blog!
Someone passed me a scribbled starter for bread years ago barely legible, but magic. I’ve baked this loaf a dozen ways since, testing to make it doable for real kitchens that can’t handle 42-hour rise times. I tested it. You’ll love the secret!
Why You’ll Love This Ciabatta Bread Recipe
There’s something magical about pulling a warm, crusty loaf bread out of your own ovenand this ciabatta recipe is here to make it easy. Here’s why it’s a must-try:
- Beginner-friendly: No complicated techniques, no panic. Just simple steps for real kitchens.
- That golden crust: Crispy on the outside, chewy and light on the insideexactly what artisan ciabatta bread should be.
- Pantry staples: Flour, water, yeast, salt, and olive oil. That’s it!
- Versatile: Sandwiches, dipping in olive oil, or paired with soupit’s a multitasking bread hero.
Key Ingredients (and Simple Substitutions)
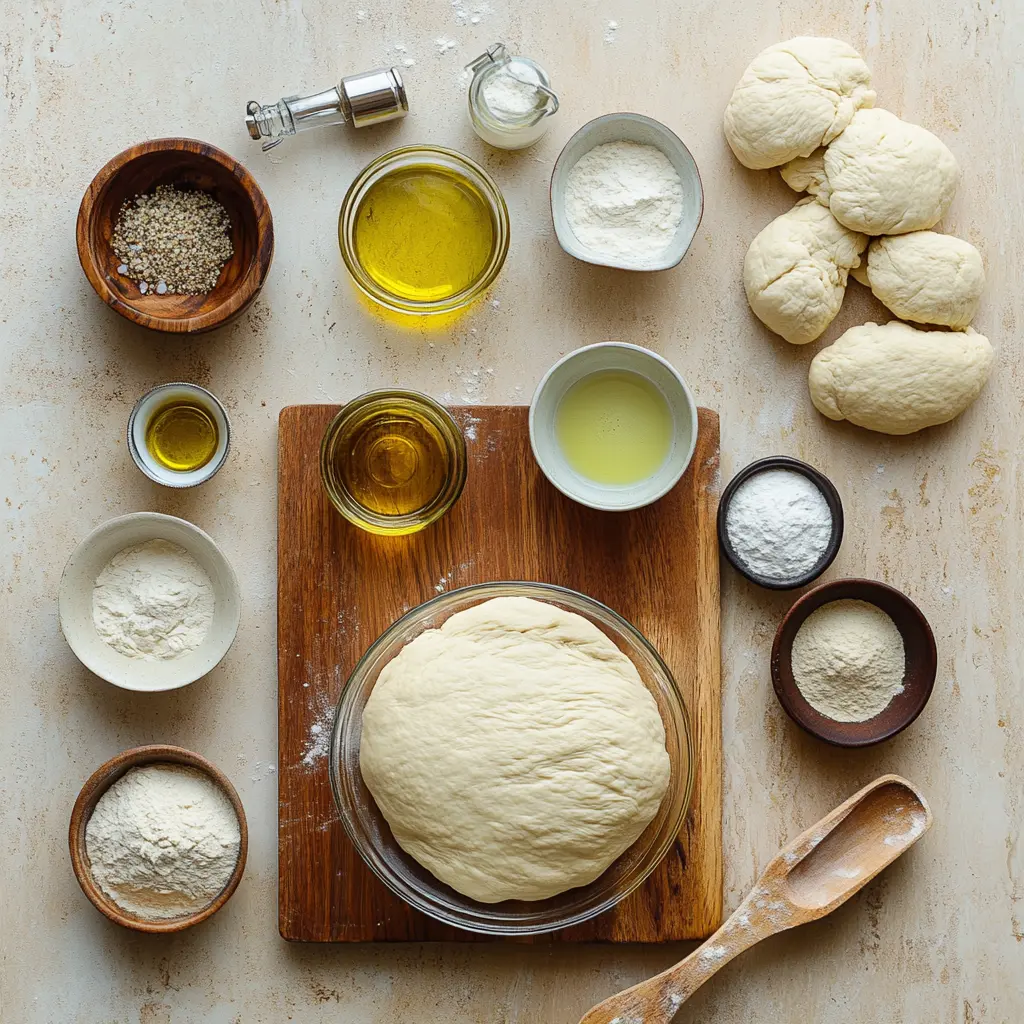
Don’t you just love recipes that don’t send you hunting for obscure stuff? This ciabatta bread is as straightforward as they come. Here’s what you’ll need and how to adapt it:
- All-purpose flour: The backbone of this recipe. No bread flour? No problemAP works beautifully.
- Instant yeast: It’s fast, it’s reliable, and it’s perfect for beginners. Active yeast can work, but you’ll need to proof it in warm water first.
- Salt: Don’t skip itit’s the unsung hero of flavor in any recipe for bread.
- Warm water: Just warm enough to activate the yeast, but not hot (you don’t want to kill it). Around 100°F is perfect.
- Olive oil: Adds a touch of richness and gives the crust an extra crunch. Use extra virgin if you’ve got it.
| Ingredient | Amount | Substitution |
|---|---|---|
| All-purpose flour | 4 cups (500g) | Bread flour for a slightly more structured loaf |
| Instant yeast | 1 ½ tsp (5g) | Active dry yeast (proof in warm water) |
| Salt | 2 tsp (10g) | Sea salt for extra flavor |
| Olive oil | 3 tbsp (45ml) | Canola oil in a pinch |
Step-by-Step Instructions for Perfect Ciabatta
Let me walk you through this. It’s a little messy (in the best way), but totally worth it!
- Mix it up: Combine your flour and salt in one bowl. In another, dissolve the yeast in warm water. Slowly mix the wet into the dry until a shaggy dough forms.
- Knead: On a floured surface, knead the dough for about 10 minutes until it’s smooth and elastic. It’ll feel stickyjust flour your hands lightly as needed.
- First rise: Pop the dough into a greased bowl, cover with a kitchen towel, and let it rise for about an hour or until it doubles in size. Warm kitchen? Shorter rise; chilly day? A bit longer.
- Shape it: Divide the dough into two pieces, shaping each into an oval loaf. Set them on a parchment-lined baking sheet, leaving space between them.
- Second rise: Let the loaves rise again (30–45 minutes), then preheat your oven to 425°F.
- Finishing touch: Just before baking, drizzle with olive oil and sprinkle a pinch of sea salt for extra wow.
- Bake: Into the oven they go for 20–25 minutes. When golden brown and crusty, they’re done!
| Step | Timing | Tips |
|---|---|---|
| Mixing | 10 minutes | Don’t overthink the doughit’s supposed to look rough at first. |
| Kneading | 10 minutes | Sticky? Lightly flour your hands, not the dough. |
| First rise | 1 hour | Cover with a damp towel to keep the dough from drying out. |
| Baking | 20–25 minutes | Tap the crustit’ll sound hollow when ready. |
Serving, Storage, and a Handy Tip
This ciabatta bread is best the day it’s baked, but don’t worrythere are ways to keep it fresh longer:
- Serving ideas: Slice it up for sandwiches, dunk it in olive oil and balsamic, or pair it with a hearty soup (your tomato bisque is calling!).
- Storage: Wrap in foil or store in a bread bag for 1–2 days at room temp.
- Freezing: Cool completely, wrap tightly in plastic wrap, then foil, and freeze. Thaw at room temp and crisp up in the oven at 350°F.
| Method | How Long | Tips |
|---|---|---|
| Room temperature | 1–2 days | Best stored in foil or a bread bag to keep the crust crispy. |
| Freezer | Up to 3 months | Reheat at 350°F for 10 minutes to bring back the crunch. |
Expert Insight: Mastering Ciabatta Bread
Ciabatta bread’s signature airy crumb and crisp crust stem from a high-hydration dough and gentle folding techniques. This ciabatta bread recipe emphasizes slow fermentation, which not only develops complex flavors but also improves texture, making each loaf satisfyingly light and chewy.
For more delicious recipes and cooking inspiration, follow me on Facebook, Pinterest and Reddit!
How I Finally Nailed My Ciabatta Bread Recipe
After more than a handful of messy dough flops and a few too many flour-covered counters, I finally cracked this ciabatta bread recipe. It was all about patience and a little extra time letting the dough rest. Now, it’s crusty on the outside, airy inside, and perfect for every sandwich night in our chaotic kitchen.
FAQs ( Irresistible Ciabatta Bread Recipe for Perfect Baking )
What makes ciabatta bread different from other artisan breads?
Ciabatta bread is distinguished by its incredibly high hydration dough, which creates its signature open, airy crumb structure with large irregular holes. Unlike denser artisan loaf breads, ciabatta has a thin, crispy crust that shatters when you bite into it, revealing the light, chewy interior. The wet dough requires special folding techniques rather than traditional kneading, making it a unique challenge even for experienced bakers. This Italian bread’s name literally means “slipper” due to its flat, elongated shape that resembles old-fashioned footwear.
Do I need a starter for bread making authentic ciabatta?
While traditional ciabatta uses a biga (Italian pre-ferment), you don’t necessarily need a sourdough starter for bread making to create delicious ciabatta at home. Many excellent ciabatta recipes rely on commercial yeast with a long, slow fermentation process that develops complex flavors naturally. However, using a starter for bread will definitely elevate your loaf with deeper, more nuanced flavors and improved digestibility. If you’re just starting out, focus on mastering the high-hydration dough technique first, then experiment with starters once you’re comfortable with the basic process.
Why is my ciabatta not getting that crusty loaf bread texture?
Achieving that perfect crusty loaf bread exterior on ciabatta requires creating steam during the first part of baking, then allowing the crust to crisp up in dry heat. Place a pan of hot water in the bottom of your oven or spray the walls with water just after loading your bread. Your oven temperature should be high (around 450-475°F) to create that initial steam burst that helps form the crust. Make sure to remove the steam source after 15-20 minutes to allow the crust to become golden and crunchy. Also, avoid opening the oven door during the first half of baking, as this releases crucial steam.
How long does homemade ciabatta bread stay fresh?
Fresh ciabatta bread tastes best within 24-48 hours of baking, when the crust is still crispy and the interior remains perfectly chewy. After that, the crust will soften and lose its delightful crunch, though the bread is still perfectly edible for 3-4 days when stored in a paper bag or bread box. Never store ciabatta in plastic, as this will make the crust soggy immediately. To refresh day-old ciabatta, pop it in a 350°F oven for 5-10 minutes to crisp up the exterior again. For longer storage, slice and freeze portions, then toast directly from frozen.
What are the most common mistakes when making airy bread recipes like ciabatta?
The biggest mistake with airy bread recipes is adding too much flour because the dough feels too sticky – resist this urge completely! Ciabatta dough should be wet and almost unmanageable, which is what creates those beautiful air pockets. Over-handling or trying to knead the dough traditionally will destroy the delicate gluten structure needed for the open crumb. Another common error is not allowing enough fermentation time, which develops both flavor and the gas bubbles that create the airy texture. Finally, many bakers shape the dough too roughly, deflating all those precious air bubbles you’ve worked so hard to develop through gentle folding.
CIABATTA BREAD RECIPE
- Total Time: 40 minutes
- Yield: About 12 slices 1x
- Diet: Vegetarian
Description
This artisan ciabatta bread recipe is a delightful way to make crusty loaf bread at home. Enjoy the airy bread recipes that create a soft and chewy interior with a golden crust. Perfect for sandwiches or dipping, it’s an easy and irresistible artisan loaf for any occasion.
Ingredients
- 4 cups all-purpose flour 500g
- 1 ½ tsp instant yeast 5g
- 1 ¾ cups warm water 410ml
- 2 tsp salt 10g
- 3 tbsp extra virgin olive oil 45ml
Instructions
- In a large mixing bowl, combine flour and salt. In another bowl, dissolve yeast in warm water.
- Gradually mix the yeast mixture into the flour until a shaggy dough forms.
- Knead on a floured surface for about 10 minutes until smooth.
- Place dough in a greased bowl, cover, and let rise for about an hour or until doubled.
- Punch down the dough, divide it into two pieces, and shape each into an oval loaf.
- Let loaves rise on a parchment-lined baking sheet for another 30-45 minutes.
- Preheat oven to 425°F 220°C, drizzle loaves with olive oil, sprinkle with sea salt, then bake for 20-25 minutes until golden brown.
- Prep Time: 10 minutes
- Cook Time: 20 minutes
- Category: Bread
- Method: Baked
- Cuisine: Italian
Nutrition
- Serving Size: 1 slice (50g)
- Calories: 130
- Sugar: 0g
- Sodium: 200mg
- Fat: 3g
- Saturated Fat: 0.5g
- Unsaturated Fat: 2g
- Trans Fat: 0g
- Carbohydrates: 24g
- Fiber: 1g
- Protein: 4g
- Cholesterol: 0mg

