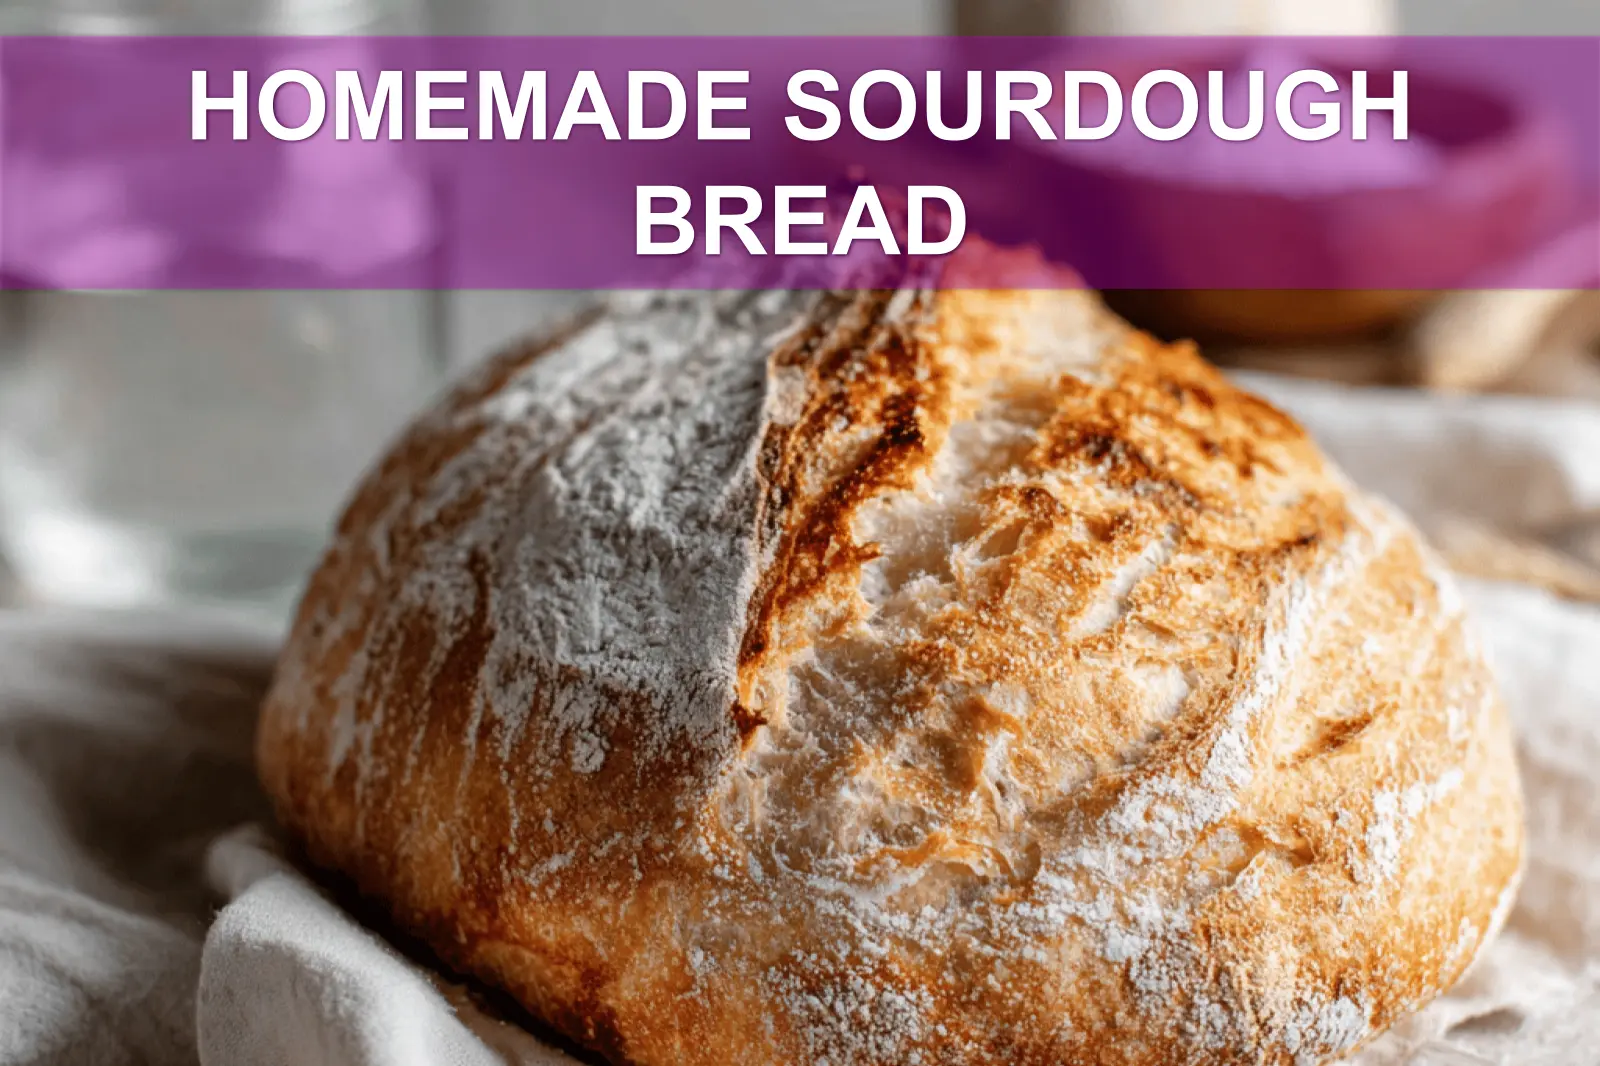
You know that smellwarm, tangy, toasty, like a hug from Grandma’s kitchen. This homemade sourdough bread is that in loaf form. It’s blowing up lately (hello, TikTok obsession) because folks want slow-made flavor fast. And guess what? This recipe delivers both.
We’re working with a bubbly starter, a trusty dash of instant yeast, and pantry basics like flour and salt. Feels like magic, but it’s science (and a little bit of love). Think the chewy inside of a good bakery loaf plus a golden, crackly crust. Full details in the blog!
When I first tested this, I had two kids underfoot, soup on the stove, and socks in the toaster (don’t ask). Still, warm bread came out of the oven. Fool proof? Yep. I tweaked my go-to for speed. You’ll love the secret that makes it sourdough bread quick and same-day ready.
Why You’ll Love This Recipe
Let’s start with the warm-and-fuzzy reasons this sourdough bread will be your new favorite:
- Nostalgic flavor: This homemade sourdough bread has that classic tangy taste and bread-shop aroma. It’s the stuff of cozy childhood memories.
- Beginner-proof: No fancy techniques (or panicky Googling) required. It’s as close to fool proof sourdough bread as it gets.
- Practical timing: It’s a leisurely 18-hour total journey but with just 25 minutes of hands-on effort. Perfect for busy schedules and same-day baking!
- Crunchy crust + airy crumb: Bread that’s crusty outside and soft inside? Yes, please.
Key Ingredients & Tools
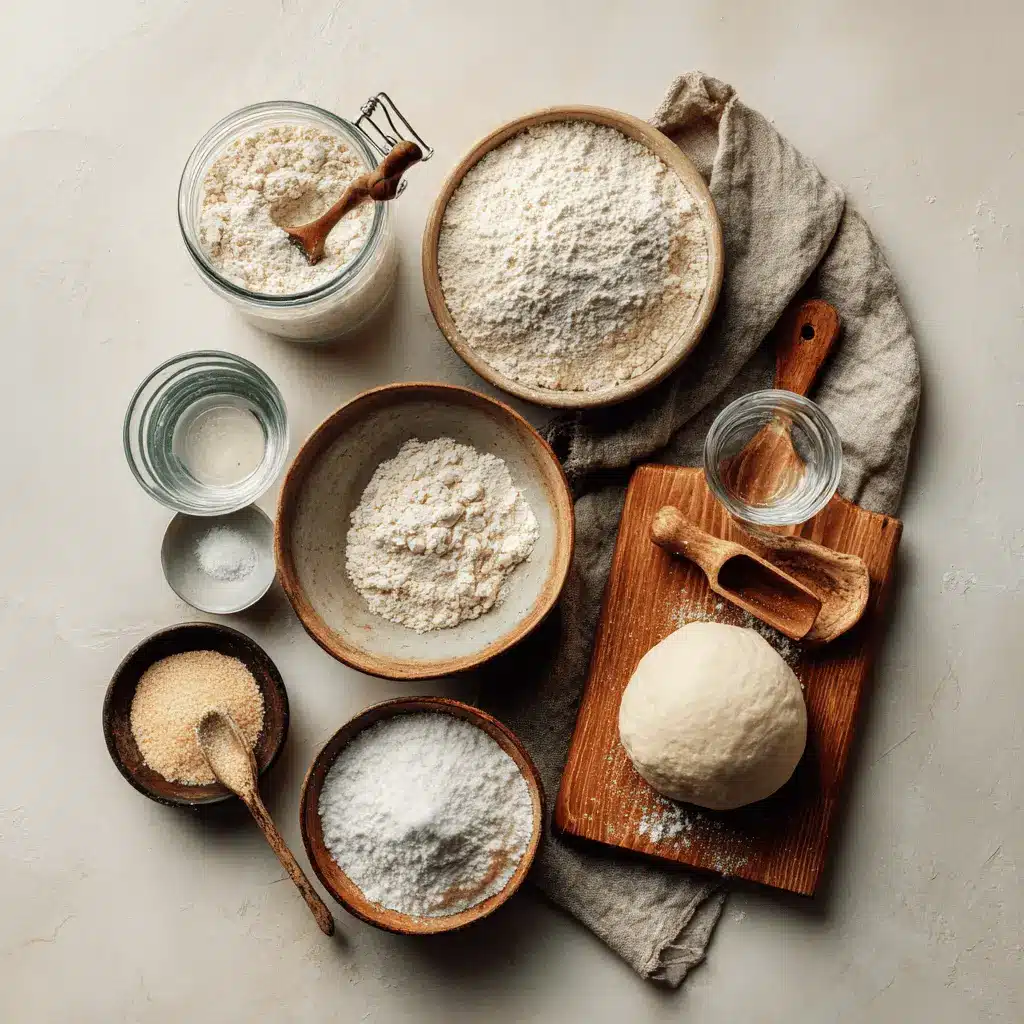
Here’s all you need to make this sourdough bread quick and easy:
| Ingredient | Measurement | Notes |
|---|---|---|
| Active sourdough starter | 50–100 g (1/4–1/2 cup) | Use the amount that fits your timing and kitchen temperature (100 g speeds things up). |
| Warm water | 375 g (1 1/2 cups + 1 tbsp) | Consider increasing for a higher hydration dough. |
| Bread flour | 500 g (4 cups + 2 tbsp) | Provides structure and texture. |
| Fine sea salt | 9–12 g (1.5–2.5 tsp) | Adjust to taste; I recommend Diamond Crystal or La Baleine. |
Tools you’ll need:

- Mixing bowl: A large one helps during those stretches and folds.
- Digital scale: Accuracy is everything in bread baking.
- Flour sack towel: Prevents sticking during proofing.
- Dutch oven: Essential for a crispy crust!
Step-by-Step Method
This recipe sourdough bread journey is simple but rewarding. Here’s the roadmap:
- Mix the dough: Combine starter, water, flour, and salt in a bowl. Stir until a shaggy dough forms.
- Rest and fold: Let the dough rest for 30 minutes, then perform 4 rounds of stretch-and-folds every 30 minutes.
- Bulk fermentation: Cover the bowl and let the dough rise till it increases in volume by 50%. This will take 4–8 hours, depending on starter amount and room temp.
- Shape the dough: Turn the dough onto a floured surface, shape it into a round or oval (batard), and place it seam-side up into a lined bowl.
- Final proof: Refrigerate the dough for 6–12 hours.
- Bake: Preheat the oven with a Dutch oven inside at 475°F. Carefully transfer the dough to the preheated Dutch oven and bake covered for 20 minutes, then uncovered for another 15–20 minutes until golden and crusty.
Pro Tip: For a crispy crust, let the bread cool completely before slicing. Tempting as it is, patience pays off here!
Troubleshooting & Common Tweaks
Even with fool proof sourdough bread, hiccups happen. Here’s how to handle them:
- Sticky dough: Dust your hands and surface with rice flourit doesn’t burn like regular flour.
- Dough not rising: Warm up your kitchen or increase the starter amount to 100 g.
- Dense loaf: Double-check that your starter is active and bubbly before starting.
Looking for variety? Add ingredients like cheese, herbs, or jalapeños after the third fold for extra flavor!
| Issue | Possible Causes | Fix |
|---|---|---|
| Dough too wet | High humidity or inaccurate measurements | Dust hands and countertop generously with flour. |
| Flat loaf | Overproofing or insufficient shaping | Proof less time and improve tension during shaping. |
Serving & Storage
Now for the fun partenjoying and saving your masterpiece:
- Serving: This sourdough crusty bread is perfect with butter, soup, or as sandwich slices. The tangy flavor shines through in every bite.
- Storage: Store leftover bread tightly wrapped at room temperature for up to 2 days.
- Freezing: Slice first, wrap in plastic wrap or foil, and freeze for up to 1 month. Reheat directly in the oven.
| Storage Method | Lifespan | Tips |
|---|---|---|
| Room temp | 2 days | Keep wrapped to preserve the crumb’s softness. |
| Refrigerator | 1 week | Wrap tightly in plastic but bring to room temp before eating. |
| Freezer | 1 month | Pre-slice to make reheating easier! |
Pro Tip: Refresh frozen bread by toasting slices or reheating the loaf at 350°F for 10 minutes.
Expert Insight: The Art of Homemade Sourdough Bread
Homemade sourdough bread relies on natural fermentation, which not only develops complex flavors but also enhances the bread’s texture and nutritional profile. Mastering the balance of hydration and fermentation time is key to achieving that signature tang and airy crumb unique to this classic loaf.
For more delicious recipes and cooking inspiration, follow me on Facebook, Pinterest and Reddit!
The Quest for Truly Homemade Sourdough Bread
Perfecting homemade sourdough bread was no quick feat. After plenty of sticky dough moments and impatient waiting, I finally cracked the timing and texture. This recipe is the result of many early mornings and trial-and-error, capturing that perfect tang and crumb that makes homemade bread so special.
FAQs ( Homemade Sourdough Bread, Step by Step )
How long does it take to make homemade sourdough bread?
Traditional homemade sourdough bread typically takes 24-48 hours from start to finish, including starter preparation and fermentation time. However, if you’re looking for a faster option, you can make sourdough bread same day using an active starter and warm environment to speed up the process. The active preparation time is only about 30 minutes, with most of the time being hands-off fermentation. With proper planning, you can enjoy fresh sourdough bread without too much active work.
Can I make sourdough bread without a starter?
Technically, authentic sourdough bread requires a sourdough starter for its characteristic tangy flavor and natural leavening. However, you can make sourdough bread with instant yeast as a substitute, which gives you a similar texture and allows you to add vinegar or citric acid for that tangy flavor. This method is much faster and doesn’t require maintaining a starter. While purists might debate the authenticity, it’s a great way to enjoy sourdough-style bread when you don’t have an active starter ready.
Why is my homemade sourdough bread dense and heavy?
Dense sourdough bread usually results from an inactive starter, insufficient fermentation time, or over-proofing the dough. Make sure your starter is bubbly and doubles in size within 4-8 hours of feeding before using it. Under-developed gluten from inadequate kneading or folding can also create a heavy texture. For a more fool proof sourdough bread approach, ensure your starter passes the float test, give the dough proper bulk fermentation time, and don’t skip the gluten development steps.
How do I get a crusty exterior on my sourdough bread?
To achieve that perfect sourdough crusty bread exterior, bake your bread in a preheated Dutch oven or cast iron pot with the lid on for the first 20-30 minutes. This creates steam that helps develop the crust while keeping the interior moist. Remove the lid for the final 15-20 minutes to allow the crust to brown and crisp up. You can also place a pan of hot water on the bottom oven rack or spray the oven walls with water right after loading the bread for extra steam.
How should I store homemade sourdough bread?
Store your homemade sourdough bread cut-side down on a cutting board for the first day to maintain the crusty exterior. After that, wrap it in a clean kitchen towel or place it in a paper bag to preserve the crust while preventing it from getting too hard. Avoid plastic bags as they make the crust soft and chewy. For longer storage, slice and freeze portions in freezer bags for up to 3 months – just toast slices directly from frozen when you’re ready to enjoy them.

Wrapping Up Your Homemade Sourdough Bread Adventure
Making homemade sourdough bread is truly a kitchen winquick enough for a same-day bake, with that perfect crusty outside and tender crumb inside. You’ll love how this recipe balances ease with that nostalgic tang, no matter your schedule or skill level.
Feel free to jazz it up with herbs, cheese, or seeds for fun twists. And a little secret I picked up? Wrapping leftovers tight keeps that crust crisp longer, so you get “fresh from the oven” vibes days later. Bread baking is way easier (and more flexible) than it looks!
Did this recipe bring back memories of your grandma’s kitchen or inspire new ones? Snap a pic, share your tweaks, and pass this cozy, fool proof sourdough bread recipe along to your nearest bread lover. Baking’s better when it’s shared! You’ll wanna make it again, trust me.
Print
HOMEMADE SOURDOUGH BREAD
- Total Time: 18 hours 45 minutes
- Yield: 1 loaf 1x
- Diet: Vegetarian
Description
This fool proof sourdough bread recipe yields a golden, crisp crust with a light, airy crumb. It’s one of the simplest and best homemade sourdough bread recipes that takes only 25 minutes of hands-on work. Perfect for those seeking sourdough bread quick and easy to follow.
Ingredients
- 50 – 100 g (1⁄4 – 1/2 cup) bubbly active starter
- 375 g (1 1/2 cups plus 1 tbsp) warm water
- or more
- 500 g (4 cups plus 2 tbsp) bread flour
- 9 to 12 g (1.5 – 2.5 teaspoons) fine sea salt
- see notes above
Instructions
- Mix starter, water, and bread flour in a large bowl until combined.
- Let dough rest for 30 minutes.
- Stretch and fold dough every 30 minutes for a total of 4-5 times during bulk fermentation.
- Let dough bulk ferment until it increases by 50% in volume, about 4 to 6 hours.
- Shape dough into a round or batard, then let rest for 20 minutes.
- Shape dough again and place into a floured banneton or bowl for final proof, refrigerated overnight or at room temperature for 3 to 4 hours.
- Preheat Dutch oven to 500°F (260°C).
- Transfer dough to Dutch oven, score, cover, and bake for 20 minutes.
- Remove lid and bake an additional 20-25 minutes until golden brown.
- Cool on wire rack before slicing.
Notes
- Use a digital scale for accurate measurements
- High hydration dough works well with 380 grams water
- For a more open crumb, shape as a batard
- Add additional ingredients like cheese or herbs before the third set of stretches and folds
- Keep an eye on dough if using 100g starter as it may rise faster
- Prep Time: 25 minutes
- Cook Time: 40-45 minutes
- Category: Bread
- Method: Baked
- Cuisine: American
Nutrition
- Serving Size: 1 slice
- Calories: 180 kcal
- Sugar: 0.1g
- Sodium: 300mg
- Fat: 1g
- Saturated Fat: 0.2g
- Unsaturated Fat: 0.5g
- Trans Fat: 0g
- Carbohydrates: 38g
- Fiber: 2g
- Protein: 6g
- Cholesterol: 0mg


1 thought on “Homemade Sourdough Bread: Easy Delicious Recipe”